
Breakfast pastries are perhaps the most important part of all Slavic cuisines. If you ever visited a Slavic country, you know just how much these people love their pastries. In this post, we’ll focus on one of the most popular breakfast pastries (alongside syrniki) in the former Soviet Republic– piroshki. We’ll share the traditional piroshki recipe, tell you about the origins of this delicious snack, show you the most common variations, and of course give you a few insightful preparation tips.
But first things first…
What Are Piroshki?


Piroshki are fried/baked yeast-leavened buns shaped like a boat that can be filled with a variety of different fillings. The snack originates from Russia and Ukraine and is a famous street food snack and one of the most popular comfort foods in Eastern Europe. Throughout the years, the recipe spread across Eastern Europe, and in this post, you can find many different local varieties with different fillings that range from savory to sweet but the most common choices include ground meat (mostly beef or pork), sauteed cabbage, ham and cheese, mushroom or stewed fruits.
Due to its durability, it’s also a frequent choice for most celebrations, catering menus, and of course- spring picnics.
Origins


Even though some Ukrainians claim that the piroshki recipe is originally Ukrainian, most people agree that piroshki originated in Russia (which at the time, incorporated parts of today’s territory of Ukraine). The first written records of piroshki appear in the early 1700s. Apparently, this pastry was often prepared by the wives of mine workers for their husbands to take to work.
The name of the pastry likely originates from the word pirozhok (пирожо́к) which is used to describe fried things or perhaps, it’s a diminutive form of the word “pirog” which is a full-sized pie. The name piroshki should not be confused with Polish pierogi and Latvian piragi which are separate dishes.
Now that we have covered some basics, let’s talk a little bit about the two most common questions that arise when making piroshki.
Baked Or Fried?
Whichever you choose to go with, you won’t go wrong. The original traditional piroshki recipe was fried and the baked version appeared a little bit later but both are equally tasty.
Which Fillings To Use?
You can choose from a variety of fillings. The most popular one is ground meat and spring onion but you can also find piroshki with mushrooms, sauerkraut, regular cabbage, mashed potatoes, ham and cheese, savory-sweet fillings like jam, and you can even experiment and try to make piroshki with some other kind of filling.
Mainly, the answer to the question of which filling to use is tightly related to the geographic region which brings us to our next point…
Variations


We can talk about three different categorizations of piroshki. Piroshki variations can have differences in their shape, the preparation method, and the geographic location where it’s prepared.
As for the preparation method, we already said that piroshki can be either fried or baked.
The most common shape piroshki have is boat-shaped but in some regions, you can find crescent-shaped, Karelian-shaped (similar to khachapuri), rasstegai-shaped (with a hole on the top), round, or even cylindrical piroshki.
Piroshki are also popular in the Balkans, especially in Macedonia, Serbia, Bulgaria, and Greece. In this part of the world, piroshki (they are named the same) are strictly fried, usually filled with a mix of ground meat/spicy sausage and cheese. Piroshki in the Balkans are sold in most local bakeries but are also often served as appetizers at weddings and other ceremonies and are a part of most catering services.

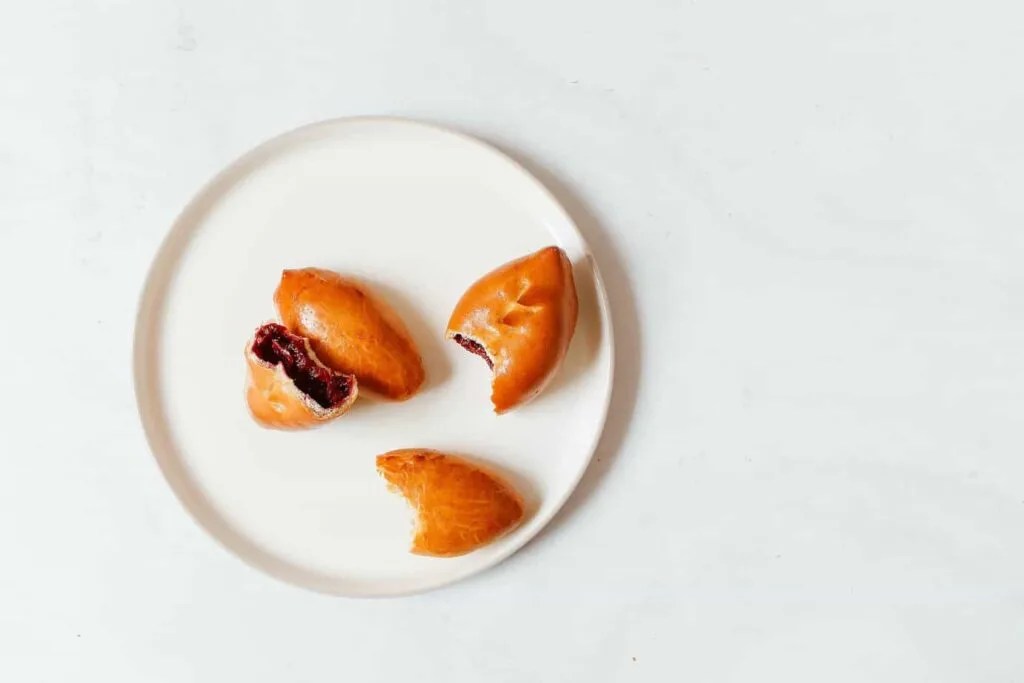
They also have similar variations of piroshki in the Baltic countries too. Latvians call it spekrausi and prepare it with smoked fatback and onions while Estonians and Finns call it pirukad or saiakesed (these are somewhat similar to Karjalanpiirakka) and their most common fillings include meat, cabbage, carrots, rice, and boiled eggs.


Piroshki are also famous in the Caucasus and Central Asia, and everywhere else where you can find a large Russian minority. Armenians usually make piroshki with potato or seasoned meat filling while in Azerbaijan, they use mostly ground beef, mashed potatoes, or jam. Piroshki are also very popular in Central Asian countries and their variations are almost identical to the Russian/Ukrainian version.
In addition to these regions, you can also find similar variations of the piroshki recipe in:
Iran; they call it pirashki and it’s also made with ground meat (beef) but there are also some sweet variations.
Japan; they call it piroshiki and is usually filled with ground meat, boiled egg, spring onions, and bean noodles.
Mongolia; they call it pirozhki and it’s one of the most popular fast food snacks across the country.
Enjoying this post? Then you may also like our guide to Tatar food.
Pirozhki Or Piroshki?
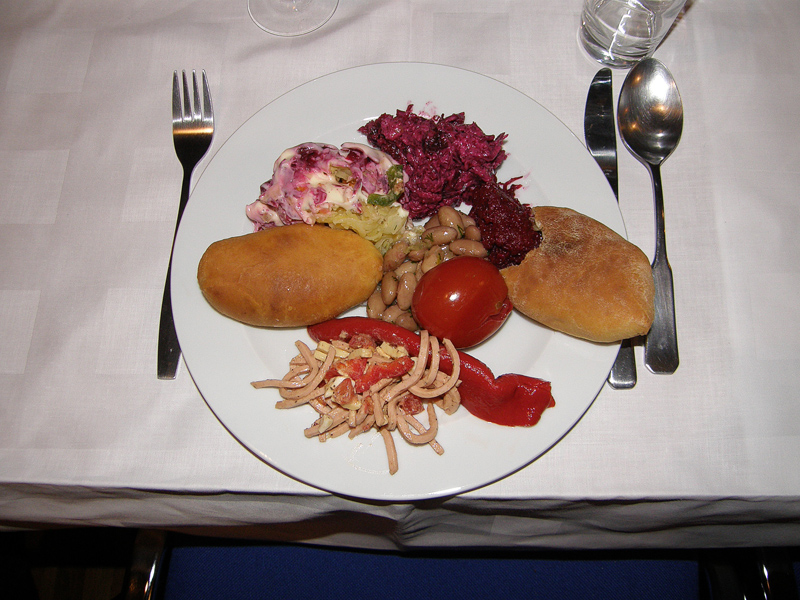

The original name is actually pirozhki (пирожки́). The letter ж is very similar to sh and when pronounced in Russian (or other Slavic languages), there’s barely any difference. However, when read in English, pirozhki sounds different than piroshki and it is a lot harder to pronounce. That’s why the English language has adopted the term piroshki.
Serving


Piroshki is usually eaten as a snack on its own, or alongside a glass of yogurt for breakfast. However, some people like to serve piroshki alongside other dishes as a side dish or add them to soups. In the Balkan, piroshki are also frequently served as appetizers or as a part of a meze platter.
Storing Piroshki
Any leftover you may have, you can keep in the fridge for up to a week and just warm it up in the microwave before serving (it’ll be almost as good as new). You can also make some extra pastries and freeze a batch or two to have for unexpected guests or quick dinners. Just make sure the piroshki cool down completely before freezing them and use an airtight container or a ziplock with layers of parchment paper. The piroshki frozen in this way can stay in your freezer for up to 2 months.
Preparation Tips
- Knead the dough with a mixer instead of your hands because you want the dough to be as soft as possible.
- Since the dough is very soft and breaks easily, you’ll need to keep your hands oiled all the time.
- To shape piroshki, slightly flatten the ball before taking it in your palm. Then, add the filling of choice and pull the dough up around the filling and pinch to close it.
- Make sure you close your piroshki well because if your pastry is not sealed, the filling might fall off during baking/frying.
- When frying, you should never fry piroshki at high heat. Keep the heat at low-medium because you want the filling to cook as evenly as the dough.
- After taking out the piroshki, make sure to keep it on top of a paper towel to absorb the extra oil and prevent your pastry from becoming too soggy.
A Few Things You May Need
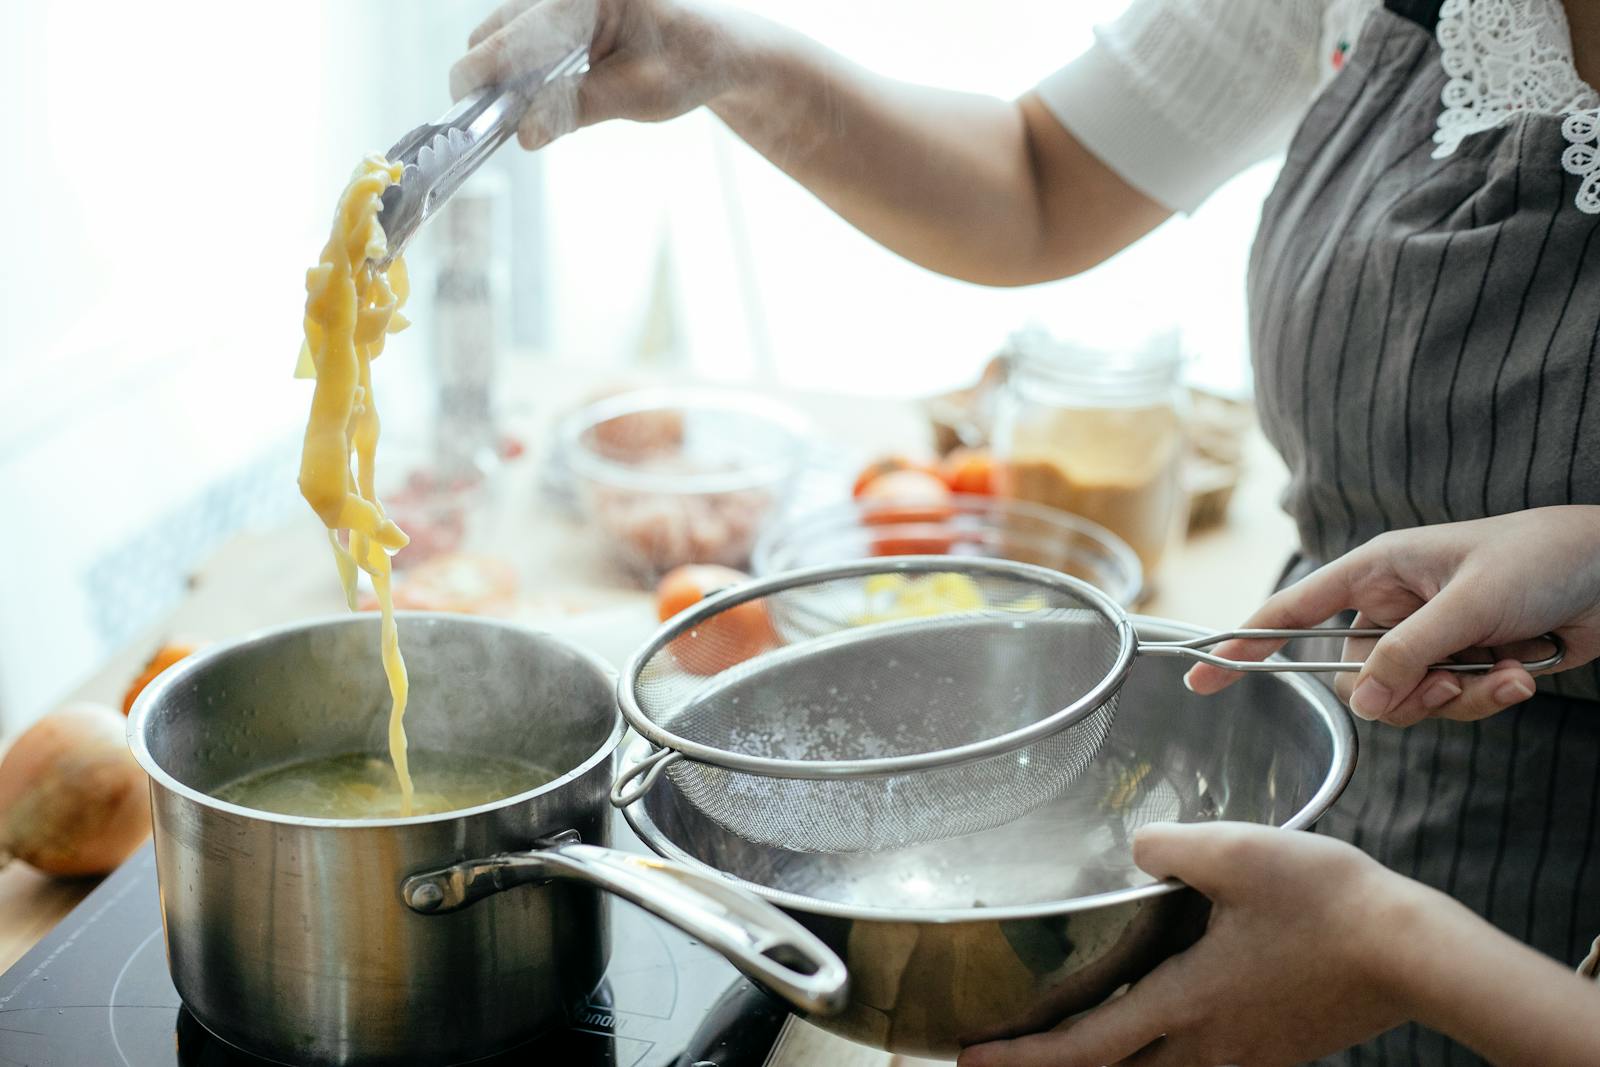

Mixing Bowls


Baking Tray


Rolling Pin
Piroshki Recipe


In this post, We’ll share the traditional piroshki recipe, tell you about the origins of this delicious snack, show you the most common variations, and of course give you a few insightful preparation tips.
Ingredients
For the dough
- 4 cups All-Purpose Flour (around 500 grams)
- 1/3 cup Sunflower Oil
- 1 cup Water (warm)
- 1 cup Milk
- 2 Eggs
- ¼ cup Butter
- 1 and ½ teaspoons Baking Yeast
- 1 teaspoon Salt
For the meat filling
- 1/2 lb ground beef (around 230 grams)
- 1 tablespoon Scallion, minced (around 30 grams)
- 1 large Onion, chopped
- 2 Garlic Cloves, crushed
- 1 teaspoon Salt
- ½ teaspoon Black Pepper
- 1 tablespoon Olive Oil
- Oil for deep-frying
For cabbage filling
- ½ lb cabbage (around 450 grams)
- 1 large Onion, chopped
- 2 Garlic Cloves, crushed
- 3 Eggs
- 2 tablespoons Dill
- 1 teaspoon Salt
- ½ teaspoon Black Pepper
- 1 tablespoon Olive Oil
- Oil for deep-frying
For the apple filling
- ½ lb Apples
- 2/3 cup Sugar
- 1/3 cup Butter
- 1 teaspoon Cinnamon
- A few drops of Lemon Juice and/or zest
Instructions
- Combine all the ingredients, except for the butter in a kitchen mixed for 8-9 minutes.
- Once done, add the butter, bit by bit, and blend for another 3-4 minutes until the dough gets smooth and stretchy.
- Keep the dough in a bowl and cover it with a damp cloth. Give the dough at least 2 hours at room temperature to rise before proceeding.
- Deflate the dough and divide it into 30-gram portions.
- Start rolling the portions into round balls.
- Once you prepare a whole batch, cover it and let it rest for another 10-15 minutes.
- While the dough balls rest, get to the filling.
Preparing the dough
Preparing the filling
a) If you’re making piroshki with meat filling, you need to fry the ground meat until well-browned, dry the fat aside, and then fry, the onion, garlic, and scallion in the same pan. Then, combine everything together and let the mixture simmer for 5-10 minutes on low-medium heat to soften the mince. Once done, divide the mixture into 50-gram portions.
b) If you’re making cabbage piroshki, you start by slicing the cabbage as thinly as possible. You want to avoid long stringy bits of cabbage. Next, chop the onion and the garlic, and fry everything together until caramelized and soft. Do this at low-medium temperature. If the mixture starts getting brown very soon, add a little bit of water. In the meantime ball the eggs and chop some dill. After the mixture is nice and soft, add the eggs and the chopped dill. Let the filling cool down and divide it into multiple 50-gram portions.
c) If you’re making apple piroshki, peel the apples, cut them into tiny pieces, and combine them with sugar, butter, and spices. Cook on medium heat until the apples get nice and soft but do not fall apart. Drain the liquid and bring the pan to heat again until the mixture gets a caramelized texture. Season with some lemon zest and lemon juice. Let the mixture cool down and divide it into multiple 50-gram portions.
Shaping the piroshki
9. When the filling is done, add some flour to your work surface and start rolling out the balls.
10. When flat, add the filling of your choice in the center.
11. Pinch the edges of the dough and seal it, forming a half moon.
12. Once sealed, gently flatten the pastry between your palms to make sure that the sealed crimps are on the flat side.
13. In the meantime, preheat some oil in a large skillet.
14. When the oil starts bubbling up, you can start adding your piroshki to the skillet.
15. You can drop up to 4 pieces at a time. The frying shouldn’t take more than 3-4 minutes and the piroshki should have a golden color when done.
16. When removing the piroshki from the oil, place them on top of a dry napkin to absorb the excess oil.
17. Wait for the piroshki to cool down for a few minutes, serve them with any preferred side dishes, drinks, or toppings, and enjoy!
Notes
*If you intend to freeze the piroshki before frying, inspect everyone to make sure
they’re all sealed nicely, wait for them to cool down completely, and only then
add them to the freezer.
*If you want to bake your piroshki, disregard steps 10-14.
Instead, make a simple egg wash, using 1 egg and 50 milliliters of milk. Spray
this onto the piroshki before baking. Bake at 360˚F (180 ˚C) for 20 minutes or
until the tops are golden brown.
Nutrition Information:
Serving Size:
1 piroshkaAmount Per Serving: Calories: 220Total Fat: 12gSaturated Fat: 4gTrans Fat: 0gUnsaturated Fat: 0.1gCholesterol: 63mgSodium: 72mgCarbohydrates: 21gNet Carbohydrates: 21gFiber: 3gSugar: 2gSugar Alcohols: 0gProtein: 12g
Did you enjoy this article? did you ever try piroshki? If you tried to make piroshki at home using our piroshki recipe, don’t forget to leave us a rating. If you have any questions about the preparation, feel free to ask in the comments below.
Like it? Pin it.


